Welcome to my website to those of you who are popping in here for the first time and welcome back to all who follow me.
Todays blog is about the acquiring a process for drawing and will consolodate this Mondays lesson.
Over the years I have found it useful to have a drawing process,by this I mean simple ways of working that become familiar to you and switch off that moment of confusion when you are confronted with a blank page and enable you to make quick sense of what you are looking at.
Above you will see a selection of tools that would be useful for you to add to a drawing kit.
So from the top left you have
An old cotton rag [used to move graphite or charcoal around the picture plane.
A soft moldable putty rubber for erasing in small areas and it gives a soft rubbing out mark.
Hard eraser for lifting out sharp contrasts in light.
An eraser pen again for sharp contrast marks.
A sandpaper block for sharpening charcoal to a fine point.
Touchons or paper stumps for softening or pushing graphite or charcoal into the paper.
Graphite pencil extendable no sharpening.
A pencil extender.
Graphite pencil with plastic coating. Require sharpener, which is one thing I have left off my photo, apologies.
Graphite pencils in a selection of hardnesses [HB hard to 9B soft ]
Lastly vine charcoal [gives beautiful soft brown blacks great for doing Reductive drawing practice]
So below are a few exercises to have a go at through the next week to practice the drawing process I currently teach.
I have broken it down into easy steps
LOOK establish where you light source is coming from.
Look to create your first simple shape for the whole still life from this create more detail using maybe more then one simple shape, if required[By simple shapes I mean familiar mathematical shapes]
Place in the shadow shapes as well as the object,this avoids the object floating in space.
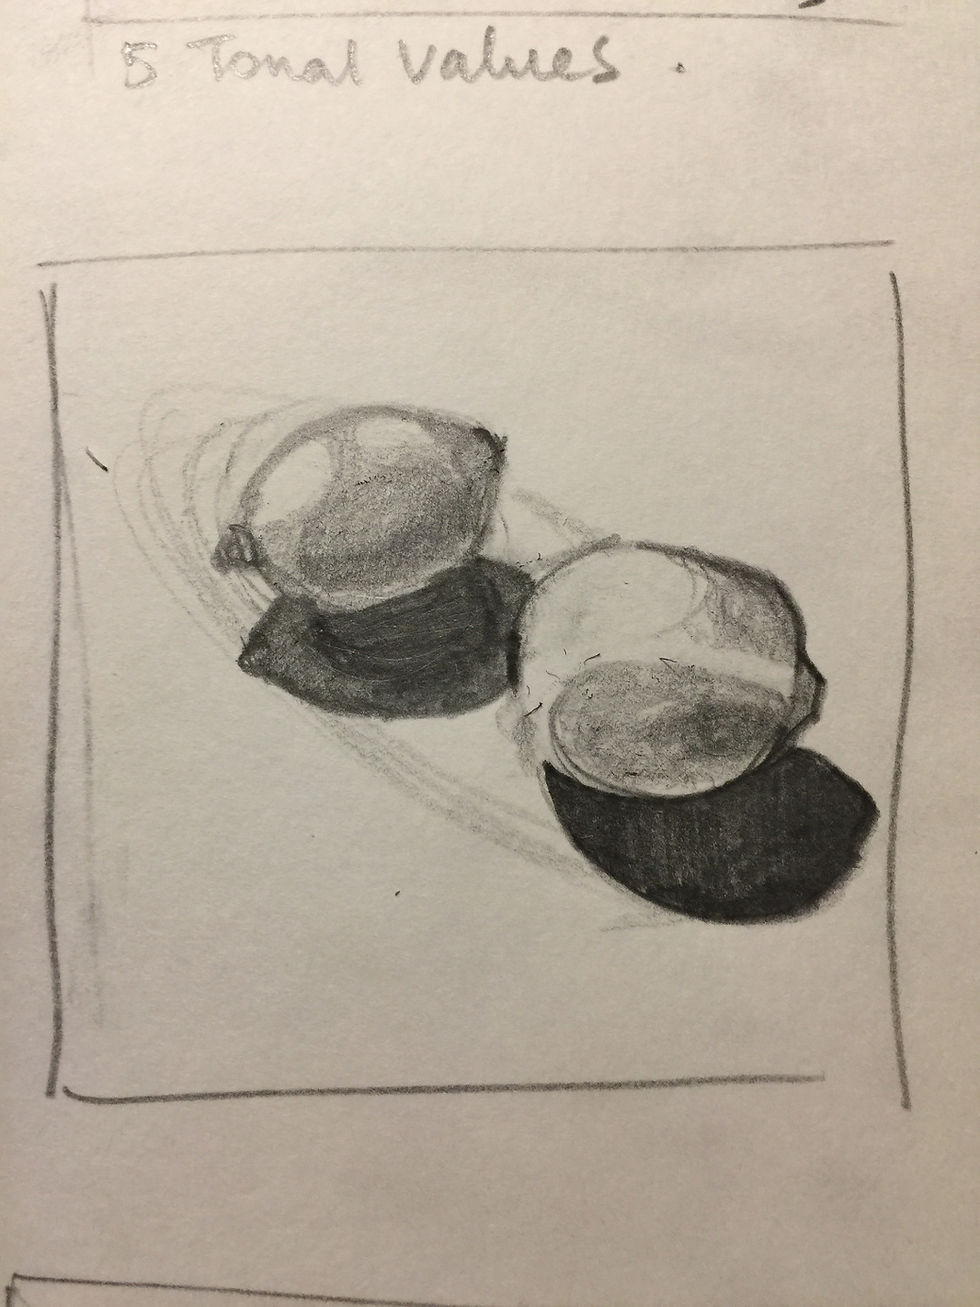
Make yourself a tonal scale. Now there are 9 values of tone but we are going to work with 5 at this stage. Make yourself a 5 stage tonal scale like the one below, be mindful that if you dont get value 5 dark enough it will be difficult to find the mid tone.


So I ve photographed my object lit from the left and I ve adjusted it with the noir setting on my phone to show you the tonal values. With practice you will start to see the tone with the colour present.

Below I have chosen the nearest basic shapes to describe my object on the table with its shadow. I find if I find a simple shape to represent the whole, not only does it ensure I fit all of the object into the picture plane but it finds the most simple but abstract form of what I m looking at. Take time to put this into your practise it will serve you well. After this the rest is detail

Below I am building more detail with more simple shapes,

To this I simplify areas into five tones and apply them. Have a go and I will write more about this process next week.

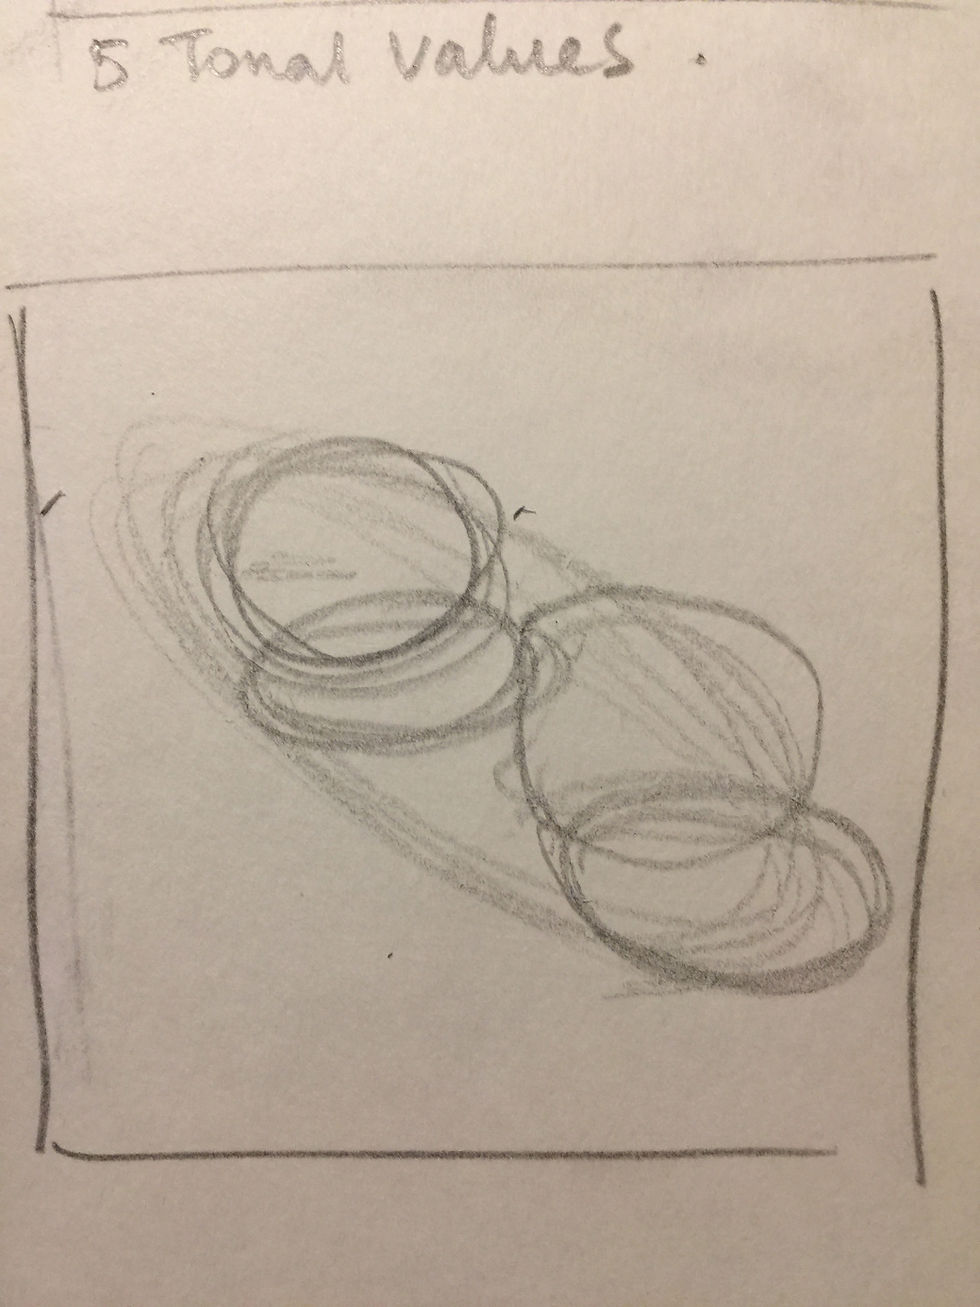
Next we have two objects to consider. I have started the process just as I started before.


Below is the basic shape of the group.

Below I have broken this shape up to find shape of objects

Again I have broken those shapes down further to define the object more

Now I m simplifying into 5 tones. If you get chance give this a go. I will post this now as I am running out of time and will continue to work on this in the week and in tomorrows lesson.


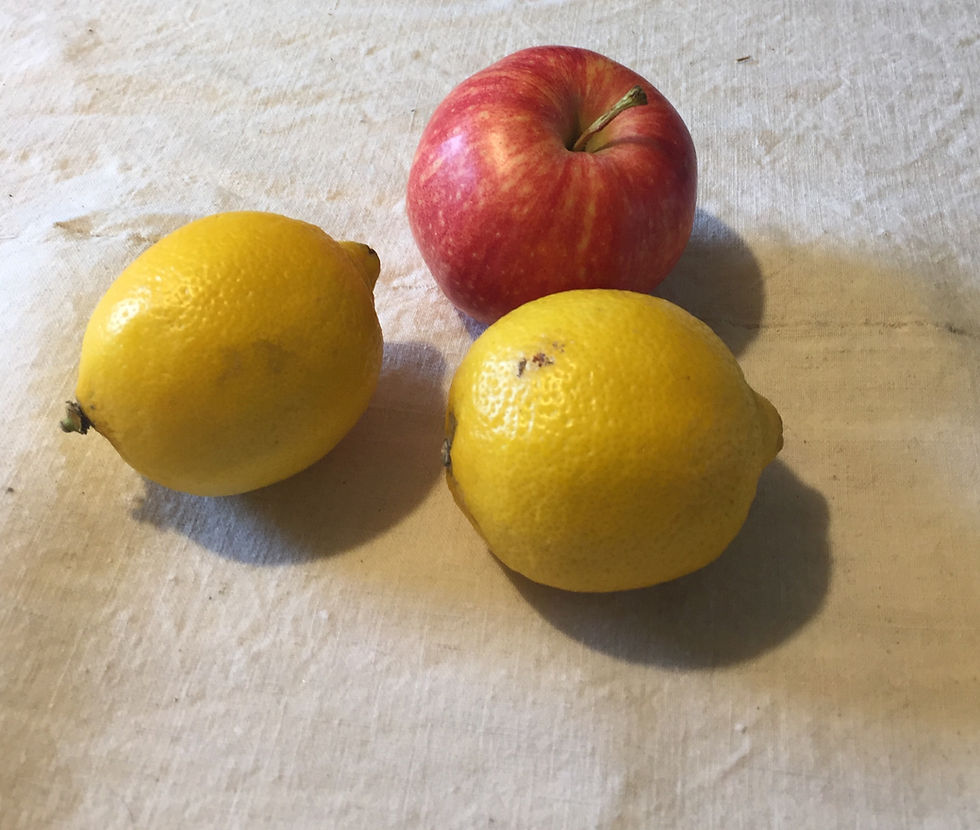
Now three objects again start using the same process for the whole group first finding a simple shape or more than one simple shape if you need to.


Lastly four shapes and i have used the same process again to place the four objects in the picture plane


I will be adding to this post Guys after tomorrows lesson. See you back here soon. Enjoy your drawing.

